Remote access
This guide helps you set up getML on a remote server and access it from your local machine.
Running the getML suite remotely
Note that this section is more of a how-to-guide for SSH and bash than something that is specific to getML.
Prerequisites
As a prerequisite to run the getML software on a remote server, we will assume the following:
You know the IP of the server and can log into it using a USER account and corresponding password.
Linux is running on the server.
The server has a working internet connection (required to authenticate you user account) and is accessible via SSH.
Remote installation
If all conditions are met, you have to download the Linux version of the getML suite from getml.com and copy it to the remote server (using a terminal):
scp getml-VERSION-linux.tar.gz USER@IP:
This will copy the whole bundle into the home folder of your USER on the remote host. Then you need to log onto the server:
ssh USER@IP
Follow the installation instructions to install getML on the remote host.
Starting engine and monitor
Start getML using the command-line interface. It is a good idea to
disown or nohup the process, so that it keeps running
when you close the SSH terminal or the connection
breaks down temporarily:
./getML > run.log &
disown
or
nohup ./getML &
Both variants will pipe the log of the engine into a file - either run.log or nohup.out.
Login
Okay. So, now the getML engine and monitor are running. But how can you view the monitor? You can do so using port forwarding via SSH.
You need to enter the following command in another terminal session of your local computer:
ssh -L 2222:localhost:1709 USER@IP
This is collecting all traffic on port 1709 of the remote host - the HTTP port of the getML monitor - and binds it to port 2222 of your local computer. By entering localhost:2222 into the navigation bar of your web browser, you can log into the remote instance. Note that this connection is only available as long as the SSH session started with the previous command is still active and running.
Running analyses using the Python API
When you start a Python script, you should also disown or nohup it,
as explained in the previous section.
If you want to know whether the Python process is still running, you can use
ps -aux:
ps -aux | grep python
It lists all running processes and filters only those containing the letters ‘python’. If your scripts appear in the listings, they are still running.
Running an interactive session using IPython is also possible but should not be done directly (since you will lose all progress the moment you get disconnected). Instead, we recommend using third-party helper programs, like GNU screen or tmux.
Note
It is usually NOT a good idea to forward the port of the getML engine to your local computer and then run the Python API locally. If you decide to do so anyway, make sure to always use absolute paths for data loading.
Retrieving results
Once your analysis is done, all results are located in the corresponding project folder. You can access them directly on the server or copy them to you local machine using the following command (in case you did not alter the default path of the project folder)
scp USER@IP:~/.getML/getml-<version>/projects/* ~/.getML/getml-<version>/projects
Stopping engine and monitor
If you want to shutdown getML, you can use the following command:
./getML -stop
Accessing the getML monitor via the internet
Up to now you only have used the HTTP port of the monitor and required no encryption. Isn’t this insecure?
Not at all. The getML monitor is implemented in such a way the HTTP port can only be accessed from a browser located at the same machine the monitor is running on. No one else will have access to it. In the scenario discussed in the previous section all communication with the remote host had been encrypted using the strong SSH protocol and all queries of the getML suite to authenticate your login were encrypted too.
But allowing access to the monitor over the internet is not a bad idea in principle. It allows you to omit the port forwarding step and grants other entities permission to view the results of your analysis in e.g. your company’s intranet. This is where the HTTPS port opened by the monitor comes in.
What is accessible and what is not?
Only the getML monitor is accessible via the HTTPS port. There is no way to connect to the getML engine via the internet (more precisely, the engine will reject any command sent remotely).
After having started the engine and monitor on your server, connect to
the latter by entering https://host-ip:1710 into the
navigation bar of your web browser. Every user still needs to log into
the getML monitor using a valid getML account and needs to be
whitelisted in order to have access to the monitor (see
the_getml_monitor_user_management)
Creating and using TLS certificates
The encryption via HTTPS requires a valid TLS certificate.
The TLS certificate is created when you start getML for the first time. You can discard the current certificate and generate a new one in the the_getml_monitor_configuration tab of the getML monitor. When doing so, you can choose whether the certificate should be self-signed or not. This is because HTTPS encryption is based on the so-called web of trust. Every certificate has to be checked and validated by a certificate authority (CA). If your browser knows and trusts the CA, it will display a closed lock in the left part of its navigation bar. If not, it will warn you and not establish the connection right away. But since a certificate must include the exact hostname including the subdomain it is used for, almost every certificate for every getML monitor will look differently and they all have to be validated by a CA somehow. This is neither cheap nor feasible. That’s why the monitor can act as a CA itself.
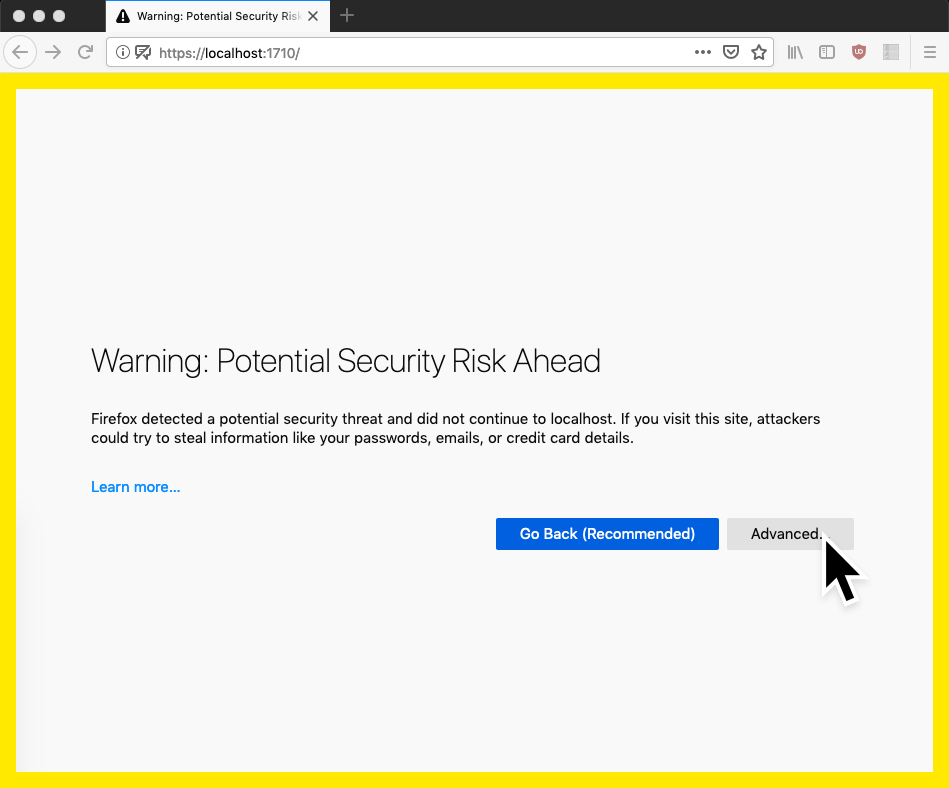
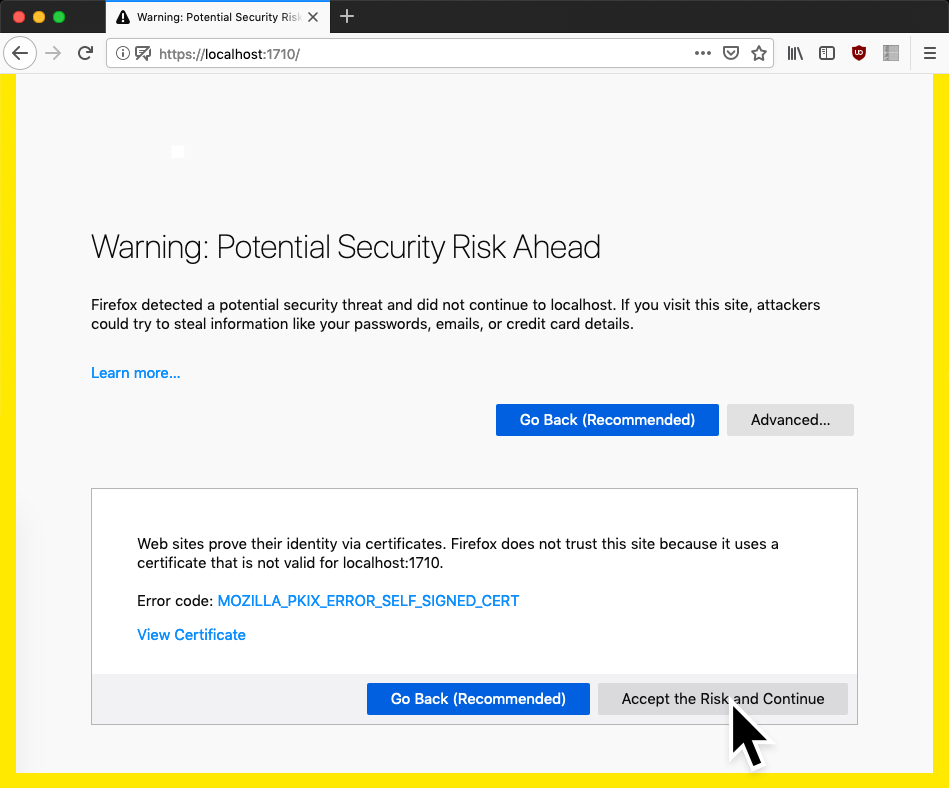
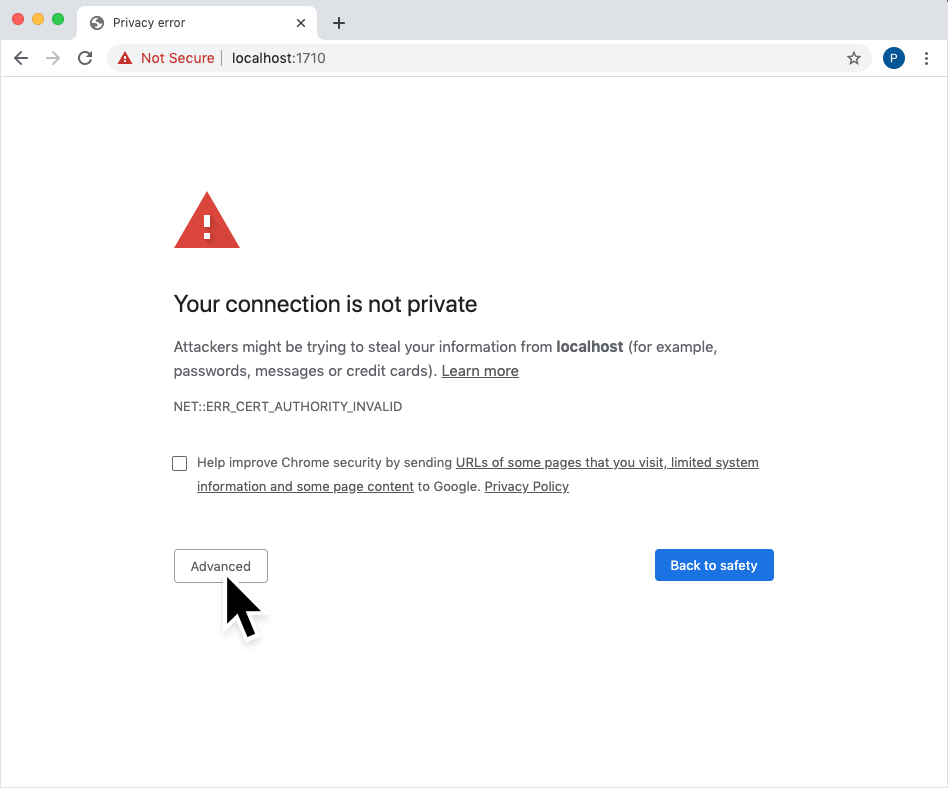
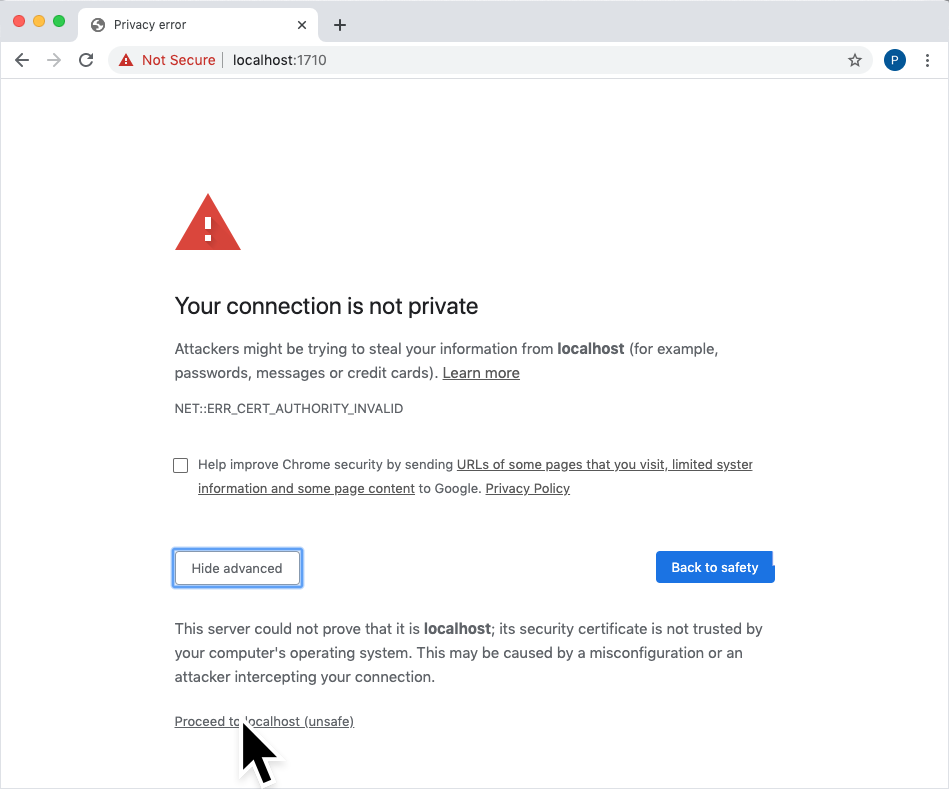
When accessing the getML monitor via HTTPS (even locally on https://localhost:1710) your browser will be alarmed, refuses to access the page at first, and tells you it doesn’t know the CA. You have to allow an exception manually. Since every monitor will be a different CA, there is no loss in security either.
Adding an exception in Firefox
In Firefox you first have to click on ‘Advanced’

followed by ‘Accept the Risk and Continue’

Adding an exception in Chrome
In Chrome you first have to click on ‘Advanced’

followed by ‘Proceed to localhost (unsafe)’

Opening the HTTPS port
Telling the getML monitor to serve its web frontend via HTTPS on a specific port usually does not make it accessible from the outside yet. Your computer/the server does not allow arbitrary programs to open connections to the outside world. You need to add the corresponding port number to a whitelist in your system’s configuration. Since there far too many combinations of systems and application used as firewalls, we won’t cover them in here. If you have questions or need help concerning this step, please feel free to contact us.